Setting up your new iPhone (Cyan Tech Guide)
A complete step-by-step guide to get your iPhone fully set up, activated, and ready to use.
🔋 1. Turn on your iPhone
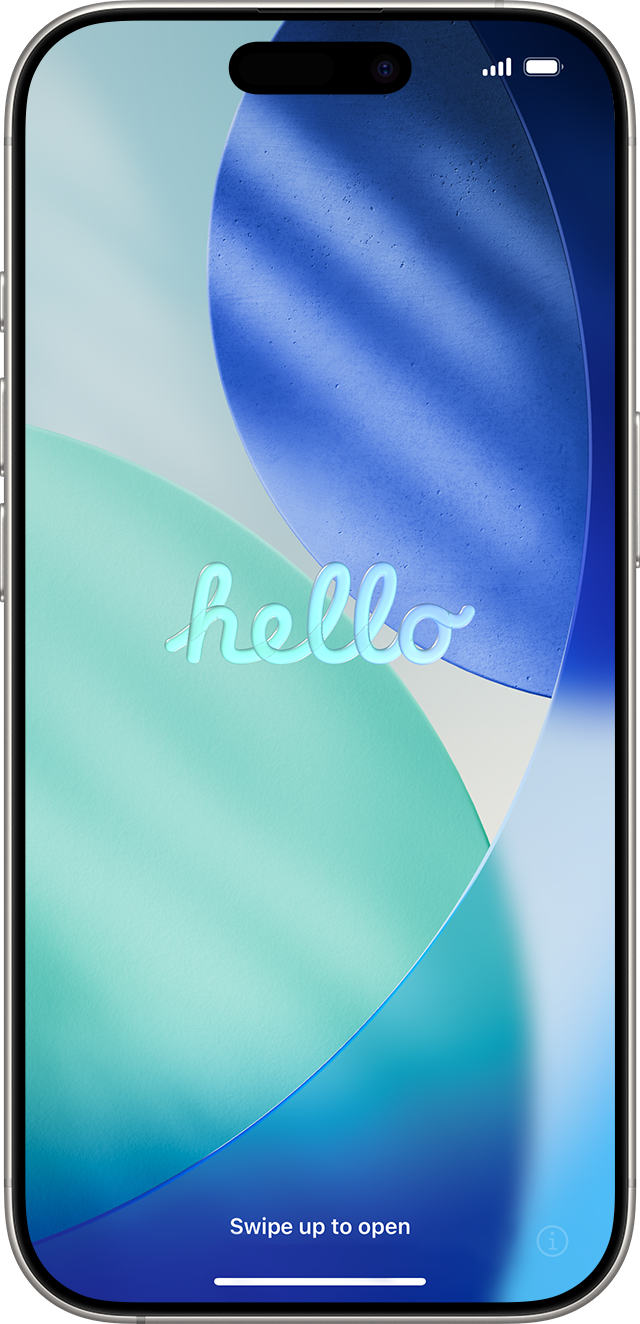
Press and hold the power button until the Apple logo appears.
You’ll then see “Hello” in multiple languages.
Follow the prompts to:
- Choose your language
- Choose your country or region
💡 Tip: If you have low vision, you can enable VoiceOver or Zoom directly from the Hello screen.
🔤 2. Choose text & icon size
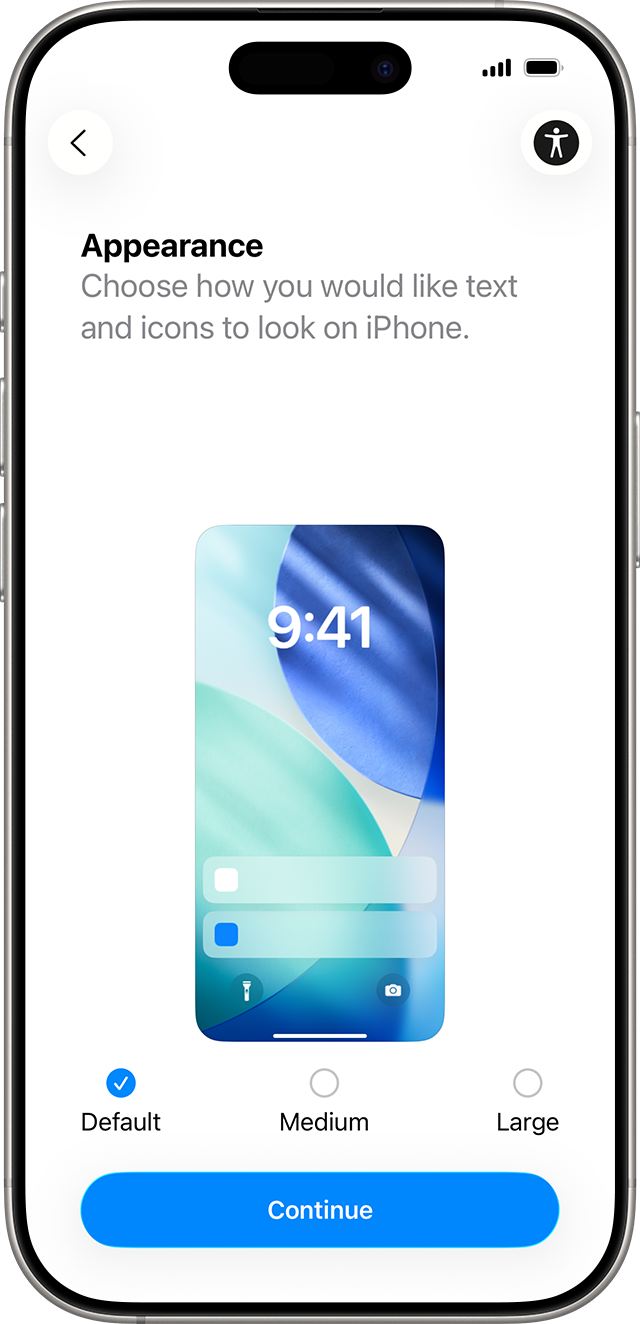
You may see a screen asking you to adjust:
- Text size
- App icon size
Slide between:
- Default
- Medium
- Large
You’ll see a live preview as you adjust it.
Tap Continue when happy.
🌐 3. Connect to Wi-Fi & activate your iPhone
To activate your iPhone, you need:
- Wi-Fi connection OR mobile network
Choose:
- Your Wi-Fi network, or
- “Continue without Wi-Fi” (if available using mobile data)
💡 If you have a SIM card:
- Insert it when prompted
- Or set up eSIM using carrier details/QR code
⚠️ No activation = phone won’t fully work yet.
⚡ 4. Quick Start or manual setup
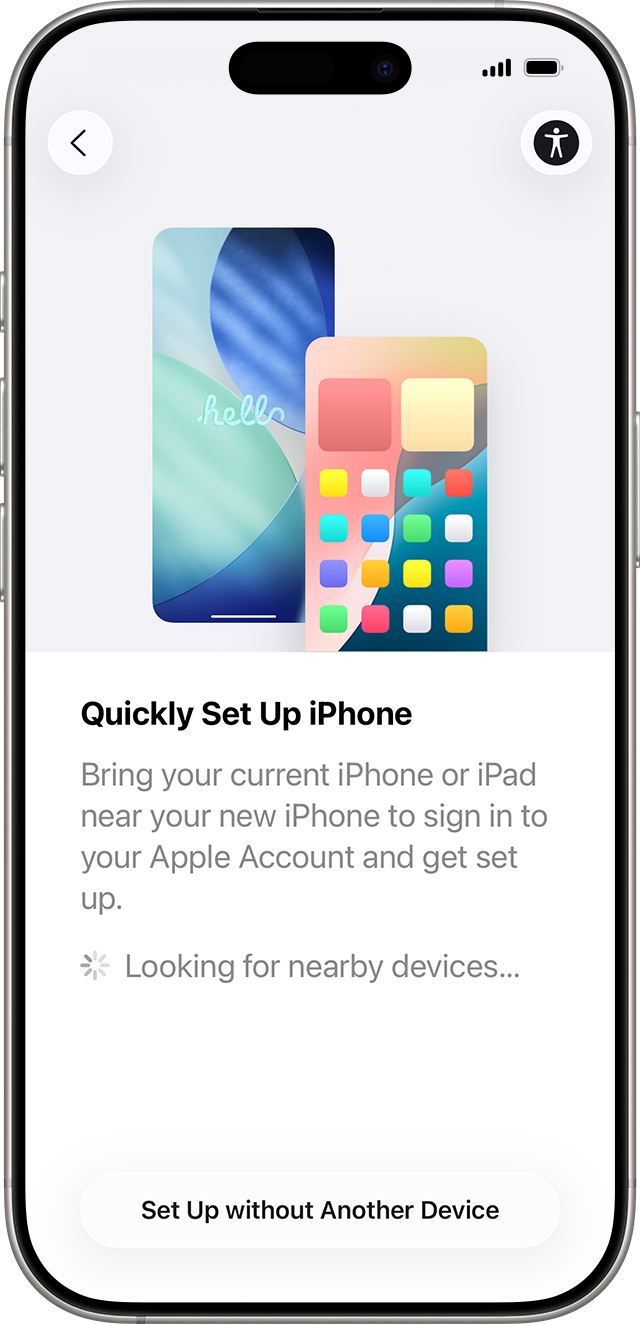
If you have another iPhone or iPad nearby:
🔄 Quick Start (recommended)
- Place devices close together
- Follow the pop-up on your old device
- Scan the animation
This transfers:
- Apps
- Photos
- Contacts
- Settings
- Apple ID login
🆕 Or set up manually
Tap:
- “Set Up Without Another Device”
You can also access Accessibility Options from here if needed.
👤 5. Set up for you or a child
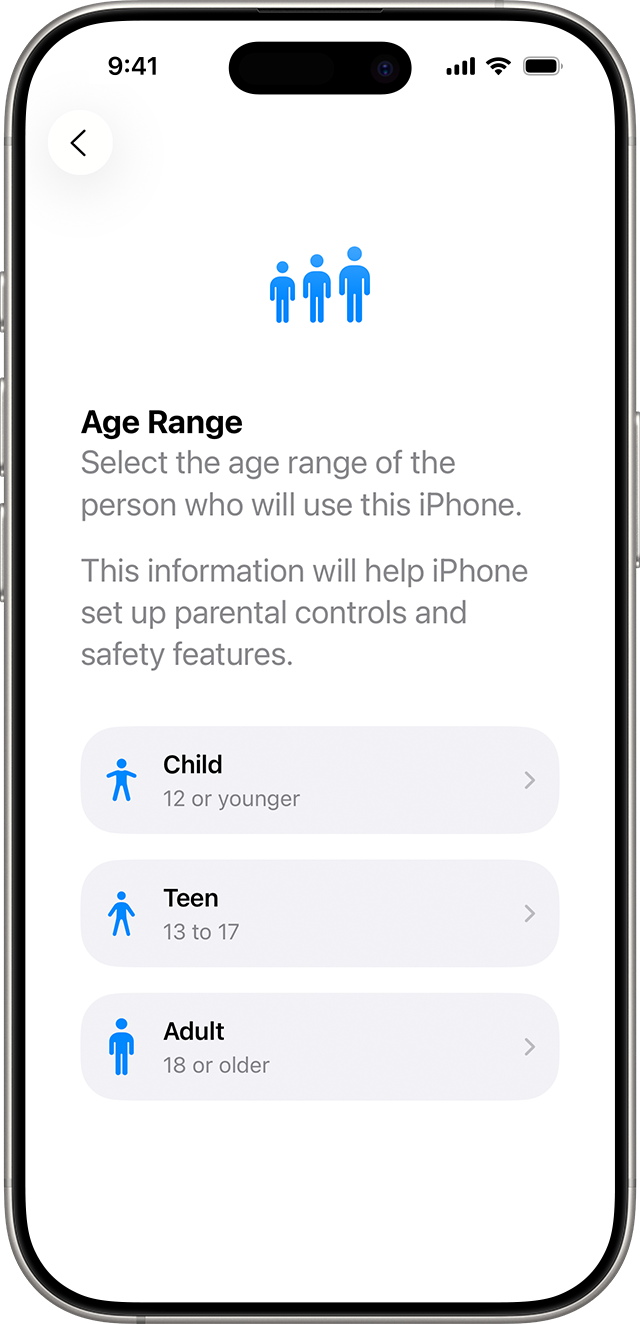
You may be asked:
- “Is this iPhone for you or a child?”
If for a child:
- You can set up Family Sharing
- Add parental controls later
🔐 6. Face ID / Touch ID + passcode
Set up:
- Face ID (face scan) OR Touch ID (fingerprint, older devices)
Then create a:
- 6-digit passcode (recommended)
You can choose:
- 4-digit code
- Custom code
- Or no passcode (not recommended)
⚠️ You need a passcode for:
- Apple Pay
- Face ID / Touch ID
- Device security
☁️ 7. Transfer your data (or start fresh)
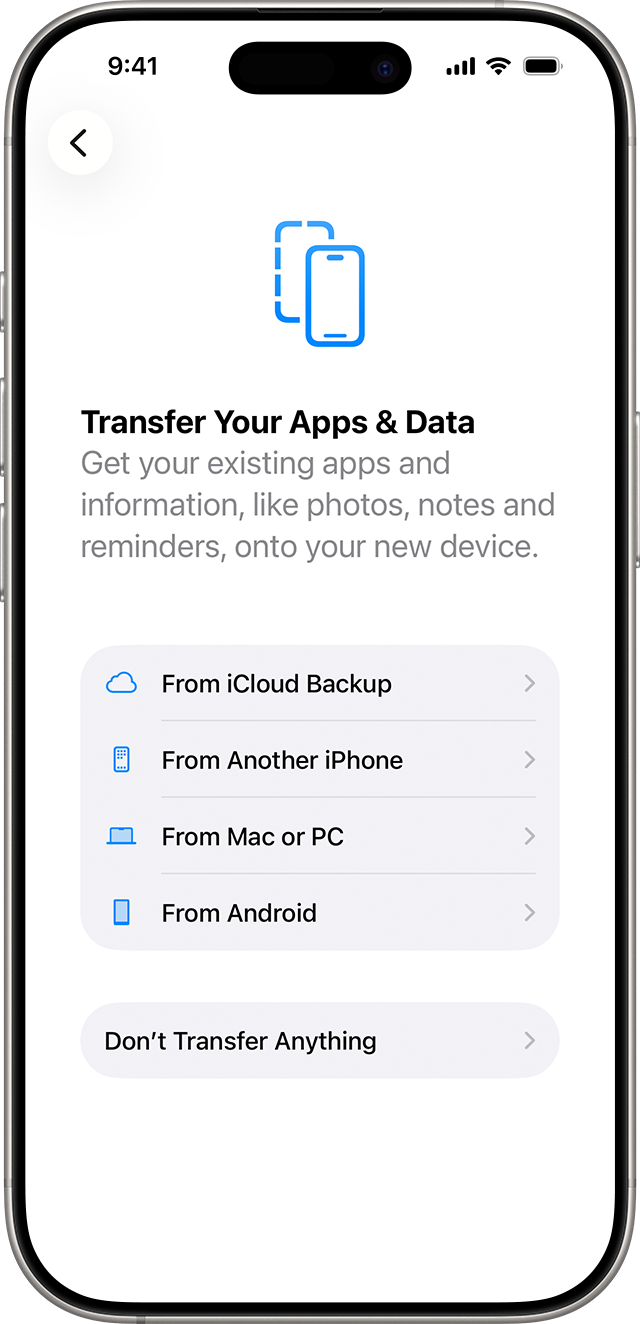
Choose how you want your data:
🔄 Restore from iCloud backup
- Best if you used iPhone before
- Downloads apps + photos later
📱 Transfer from old device
- Uses Quick Start
- Fastest full migration
🤖 Move from Android
- Apple Move to iOS option
🆕 Don’t transfer
- Clean device setup
🔑 8. Sign in with Apple Account
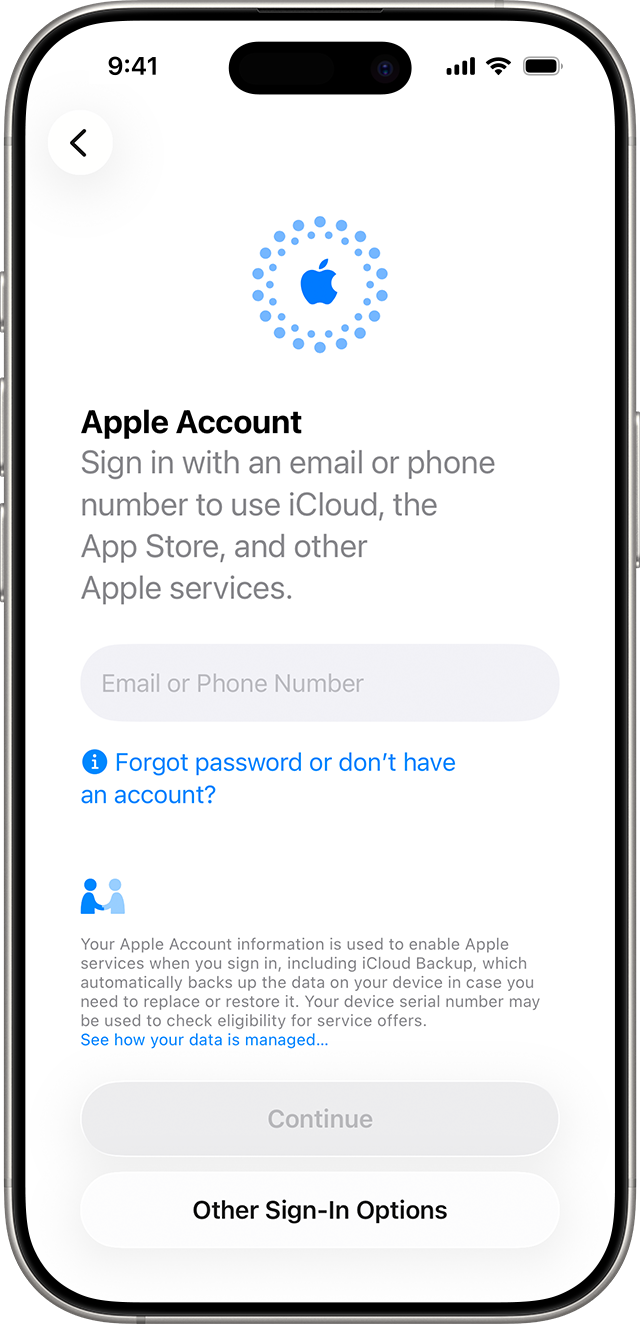
Enter:
- Email or phone number
- Password
You may get a:
- Verification code from another device
If you forgot details:
- Tap “Forgot Apple Account or password”
You can:
- Recover account
- Create a new one
- Or finish setup later
💡 You can also use multiple Apple accounts in some cases.
⚙️ 9. System features & preferences
You’ll be asked to set up:
📍 Location Services
- Recommended ON (Maps, apps, tracking)
🎤 Siri
- May ask you to speak phrases so it learns your voice
🔄 Automatic updates
- Recommended ON (keeps phone secure)
💳 Apple Pay
- Optional, can set up later
⏱ Screen Time
- Shows usage stats
- Lets you set app limits (useful for kids or habits)
🔐 Privacy choices
- Choose what data is shared with Apple & developers
🌙 10. Display & appearance
Choose:
- Light Mode
- Dark Mode
- Auto (switches automatically)
🚨 11. Safety features (newer iPhones)
If supported, you may see:
- Emergency SOS
- Crash Detection
- Satellite emergency features (region dependent)
These are optional but useful.
📦 12. Final setup phase
Your iPhone will:
- Sync apps
- Download photos
- Restore messages
- Finish background setup
💡 Plug it in and stay on Wi-Fi for best results.
🧪 13. Final checks (Cyan Tech recommended)
Before you call it done:
- Make a phone call 📞
- Test Wi-Fi 📶
- Open camera 📷
- Check Face ID works 🔐
- Open App Store 🛒
- Confirm SIM/eSIM works 📡
If everything went smoothly, your iPhone is now set up and ready to use. If you run into any issues or have questions, feel free to contact Cyan Tech for support.